
 The giveaway winner is Autumn Hathaway of http://autumnhathaway.blogspot.com/. She'll be getting Stitch Alchemy, Stitch Imagery and a packet of handmade stitch paper to play with. Thank everyone for your delightful comments!!! Kelli
 Begin with a photo self-portrait that you like. Print it out on paper, sized to your finished project. You'll need a pencil, scissors and a glue stick. Find a piece of background paper that appeals to you. I'm using scrapbook paper and I've glued it to a piece of watercolor paper to make it stiffer.
 Outline the major elements of the portrait with a pencil so that you can cut them out. Focus on the places that are different areas of color, including shadows, plus obvious elements like facial features.
 Begin the dismemberment! Without cutting any of yourself in half, snip around the parts to cut them into shapes. You'll use these shapes to cut pieces of stitchpaper or decorated paper and reassemble yourself.
 Use the parts as templates to recreate yourself in living color. If one piece will be covered by another, leave a little bit of a margin so that the background is not showing. In this example I'm using my head and shoulders as the base layer and topping it with my blouse and hair, so I've added a little to the main head piece.
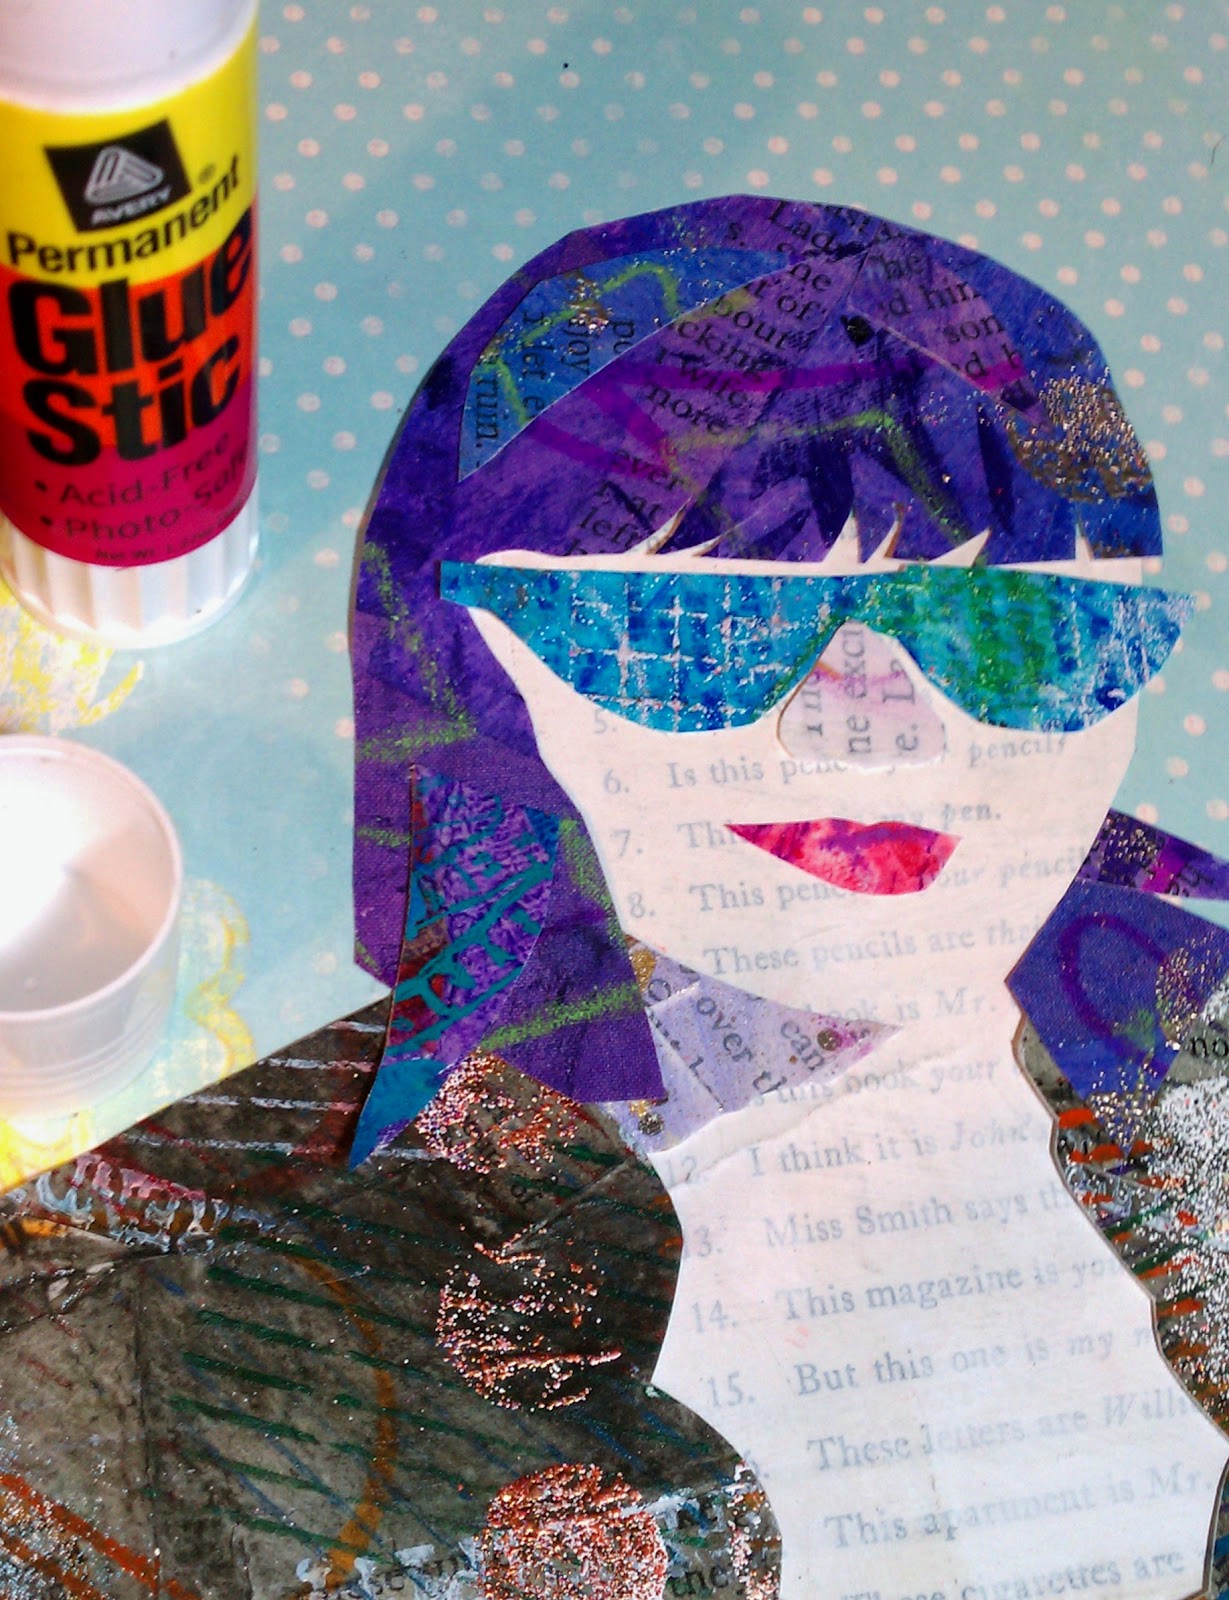 Cut out the rest of yourself and lay the pieces down to test placement. Use a glue stick to tack them down. If you don't have a piece of stitchpaper or decorated paper that matches the color you want, consider making one or using a neutral piece, then painting it after it's attached!
 When you've got yourself reassembled, hop on over to the sewing machine for a little outline free-motion stitching with black thread. go around the pieces and parts, then add extra lines as if you were sketching. Use stitching to add a border to your piece and even text if you dare!
 Now, there are no rules, so grab some more art supplies and let's get busy. Use watercolor or acrylic paints to bump up the color or make changes to your self portrait collage. You can adjust skin tone, emphasize shadows or add color. Use a marker to fix any stitch lines that meandered a little too far from the mark.
 Here's my finished self portrait. I enjoyed the process, but you'll note that there is something distinctly "off" about my glasses. The truth is that my eyes blew away when I was working and I couldn't find them! I suspect the cat may have run away with them. So I just cut my glasses out freehand and I ended up with a different shape than my actual glasses. There is nothing wrong with altering any part of your self-portrait. That's the creative process!
Simply visit each blog on the appointed day and leave a comment for chances to win in this hottest of summer giveaways! ARTSPARKS' HOT! HOT! HOT! Summer Giveaway!!! This drawing is concluded...THANKS everyone! K
Thurs August 11 Diana Trout
Fri August 12 Gloria Hansen
Sat August 13 Tracie Lyn Huskamp
Sun August 14 Jane LaFazio
Mon August 15 Jill Berry
Tues August 16 Judy Coates Perez
Wed August 17 Kelli Nina Perkins
Thurs August 18 Lyric Kinard
Fri August 19 Melanie Testa


